- Blog
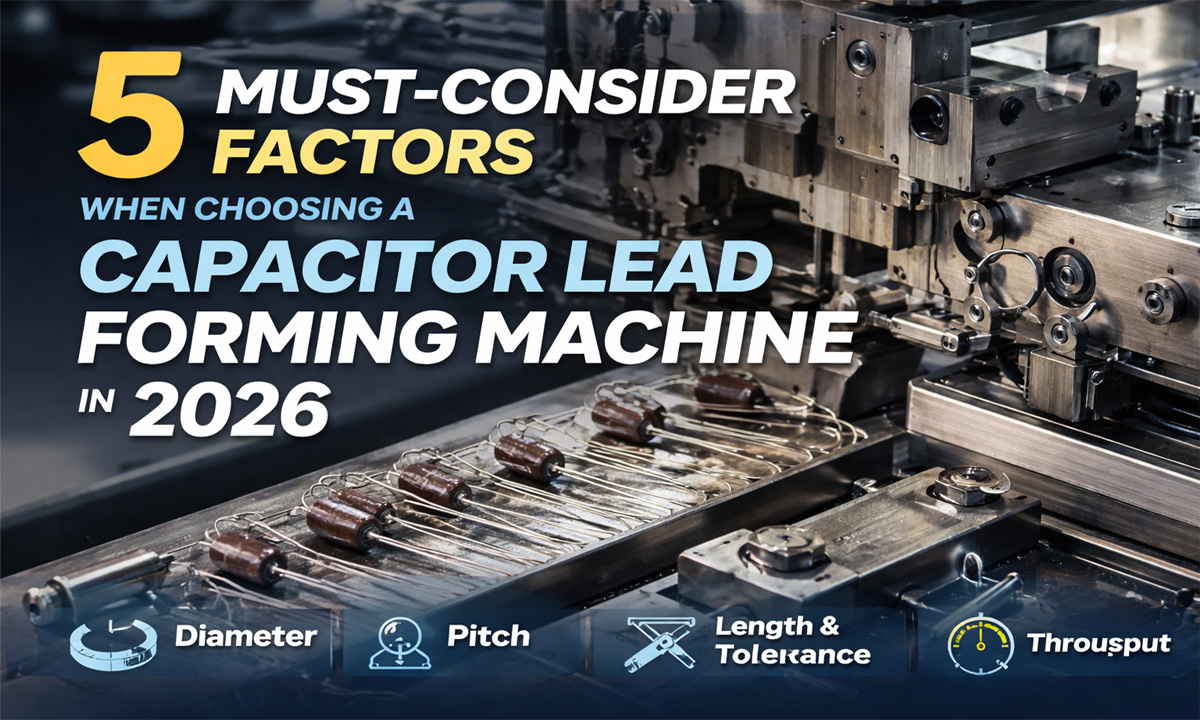
5 Must-Consider Factors When Choosing a Capacitor Lead Forming Machine in 2026
- By tian81259@gmail.com
Choosing the right capacitor lead forming machine isn’t just about “can it bend the leads.” In real production, small mismatches in lead diameter, pitch, lead length, tolerances, and throughput quickly turn into bigger problems: bent leads that won’t fit PCB holes, cracked plating, unstable insertion, extra rework, and unpredictable yield.
This guide breaks down the 5 factors you must evaluate in 2026, with practical checks you can use before you buy.
Factor 1: Lead Diameter Compatibility
Lead diameter is the first hard limit. If the tooling is not designed for your lead diameter range, you’ll see:
- Lead scratches / plating damage (too tight)
- Slip / inconsistent bending (too loose)
- Bent lead “ovalization” that reduces insertion quality
What to confirm with the supplier:
- Supported lead diameter range (e.g., thin leads vs thicker power caps)
- Whether you need different forming wheels / knives / guides for different diameters
- The material hardness of tooling (wear rate impacts consistency over time)
Production tip: If you run mixed SKUs, prioritize a machine that supports fast tooling swaps or modular guides. Otherwise, every “small” diameter change becomes downtime.
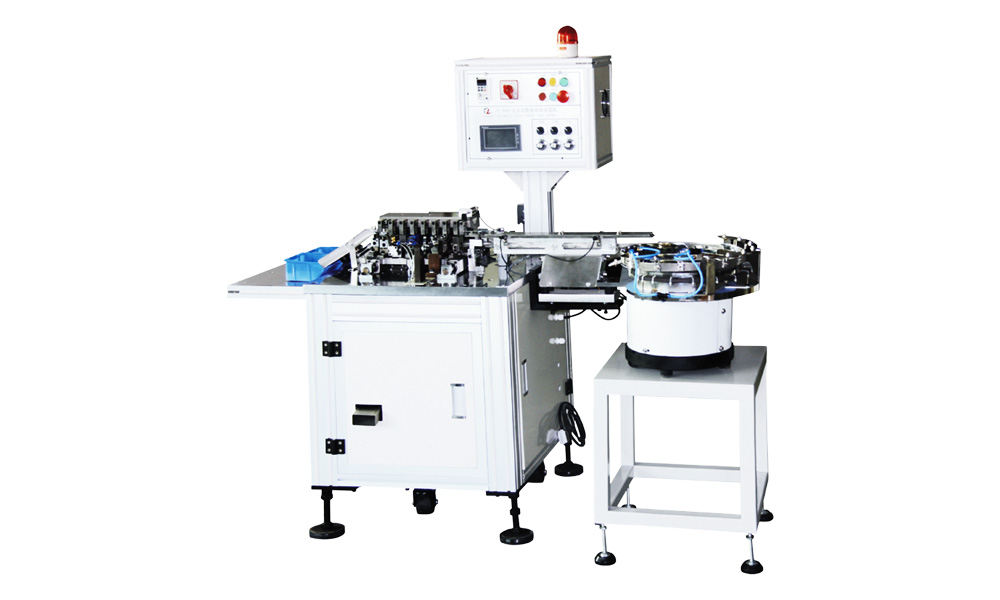
Internal link: Learn more about equipment options on our Capacitor Lead Forming Machine page.
Factor 2: Lead Pitchvs PCB Hole Pitch
Lead pitch mismatch is one of the most common causes of “looks formed, won’t insert.”
When pitch is off, you get:
- Insertion resistance increases → bent leads during insertion
- Wave solder defects from imperfect seating
- Manual correction at the line (slow + inconsistent)
What to confirm:
- Pitch adjustment method: mechanical scale, digital scale, or fixed pitch tooling
- Minimum/maximum pitch range
- Whether adjustment changes require stop + recalibration or can be done quickly
Buyer checklist
- List your top 20 capacitor SKUs
- Record each SKU’s pitch requirement
- Verify the machine covers your pitch range without sacrificing tolerance (see Factor 4)
Factor 3: Lead Length After Forming and Cut Quality
Many buyers focus on bending—but cut length consistency often decides final assembly yield.
If lead length varies, you’ll see:
- Leads too long → collision with fixtures / poor seating
- Leads too short → weak solder fillet / reliability risk
- Burrs → poor insertion and potential soldering issues
What to ask:
- Cutting type (shear vs other methods) and expected burr level
- Whether length control is set by a physical stop, encoder, or adjustable fixture
- For your material type (tinned copper, etc.), ask about tool wear compensation options
Practical test: Request 30–50 sample pieces from your real capacitor lead material and measure the length distribution.
Factor 4: Tolerance and Process Stability Over Time
In 2026, “works on day 1” is not enough. You need stability after tooling wear, shift changes, and long runs.
Key tolerances to evaluate:
- Pitch tolerance (±?)
- Lead length tolerance (±?)
- Bend angle tolerance (±?)
- Repeatability after continuous operation (e.g., 2–4 hours)
What impacts tolerance the most:
- Guide alignment and rigidity
- Tooling wear rate
- Lead material variation
- Operator adjustment frequency
How to verify
- Ask for the supplier’s measurement method (gauge, caliper, Go/No-Go, vision check)
- Ask for a tolerance report from a real run, not a single demo sample
- Confirm whether the machine supports quick calibration and easy “return-to-zero”
Internal link: If you’re unsure how lead specs relate to your circuit/assembly requirements, read our Electronic Component Parameters Guide (use your parameter page URL here).
Factor 5: Throughput vs Your Real Line Constraints
A machine rated at “high speed” can still underperform if it doesn’t match your actual production constraints.
Throughput depends on:
- Feeding method (tape, bulk, manual)
- Changeover time between SKUs
- Scrap handling and jam recovery
- Operator workload (one operator multiple machines?)
What to calculate:
- Target output per hour/day
- Planned SKU mix (how often you change pitch/length)
- Actual available runtime (OEE assumption)
Simple capacity formula
- Hourly output = forming speed × yield rate × uptime
Even a small yield drop will erase “high speed” claims.
Buyer rule: If you run multi-SKU orders, choose the machine that reduces changeover time and maintains tolerance—this often beats chasing the highest rated speed.
Quick Selection Workflow (Use This Before You Quote)
- Make a list of your main capacitor SKUs (top 20 is enough)
- For each SKU, record:
- Lead diameter
- Lead pitch
- Lead length requirement
- Tolerance requirement
- Daily production volume
- Match the machine to your “SKU envelope”:
- If one SKU is out of range → it will become your biggest bottleneck
- Request real samples + tolerance measurements
- Confirm changeover time and tooling plan
FAQ
What’s the biggest mistake when buying a capacitor lead forming machine?
Buying based on a demo video or speed rating, without confirming your real lead diameter/pitch/length tolerance and stability after long runs.
Do I need different tooling for different lead diameters?
Often yes. Even if one machine covers a wide range, optimal consistency usually requires correct guides and forming parts per diameter range.
How do I know if pitch accuracy is “good enough”?
If pitch deviation causes insertion resistance or manual correction, it’s not good enough. Validate using your PCB hole pitch and actual insertion process.
Final Takeaway
In 2026, the right capacitor lead forming machine is the one that matches your lead diameter, hits your pitch, controls lead length, holds tolerance over time, and delivers real throughput in your SKU mix—not just on paper.
Share the Post:
Related Posts
20 Years of Expertise, Trusted by Clients Worldwide
The Preferred Choice of Foxconn, BYD, and Huawei