
Chinese-Made Transformers Surge in Europe and the U.S. as AI Power Demand Tightens Global Grid Supply
Shenzhen, China — Feb. 1, 2026 — Chinese transformer manufacturers are
Shenzhen, China — Feb. 1, 2026 — Chinese transformer manufacturers are
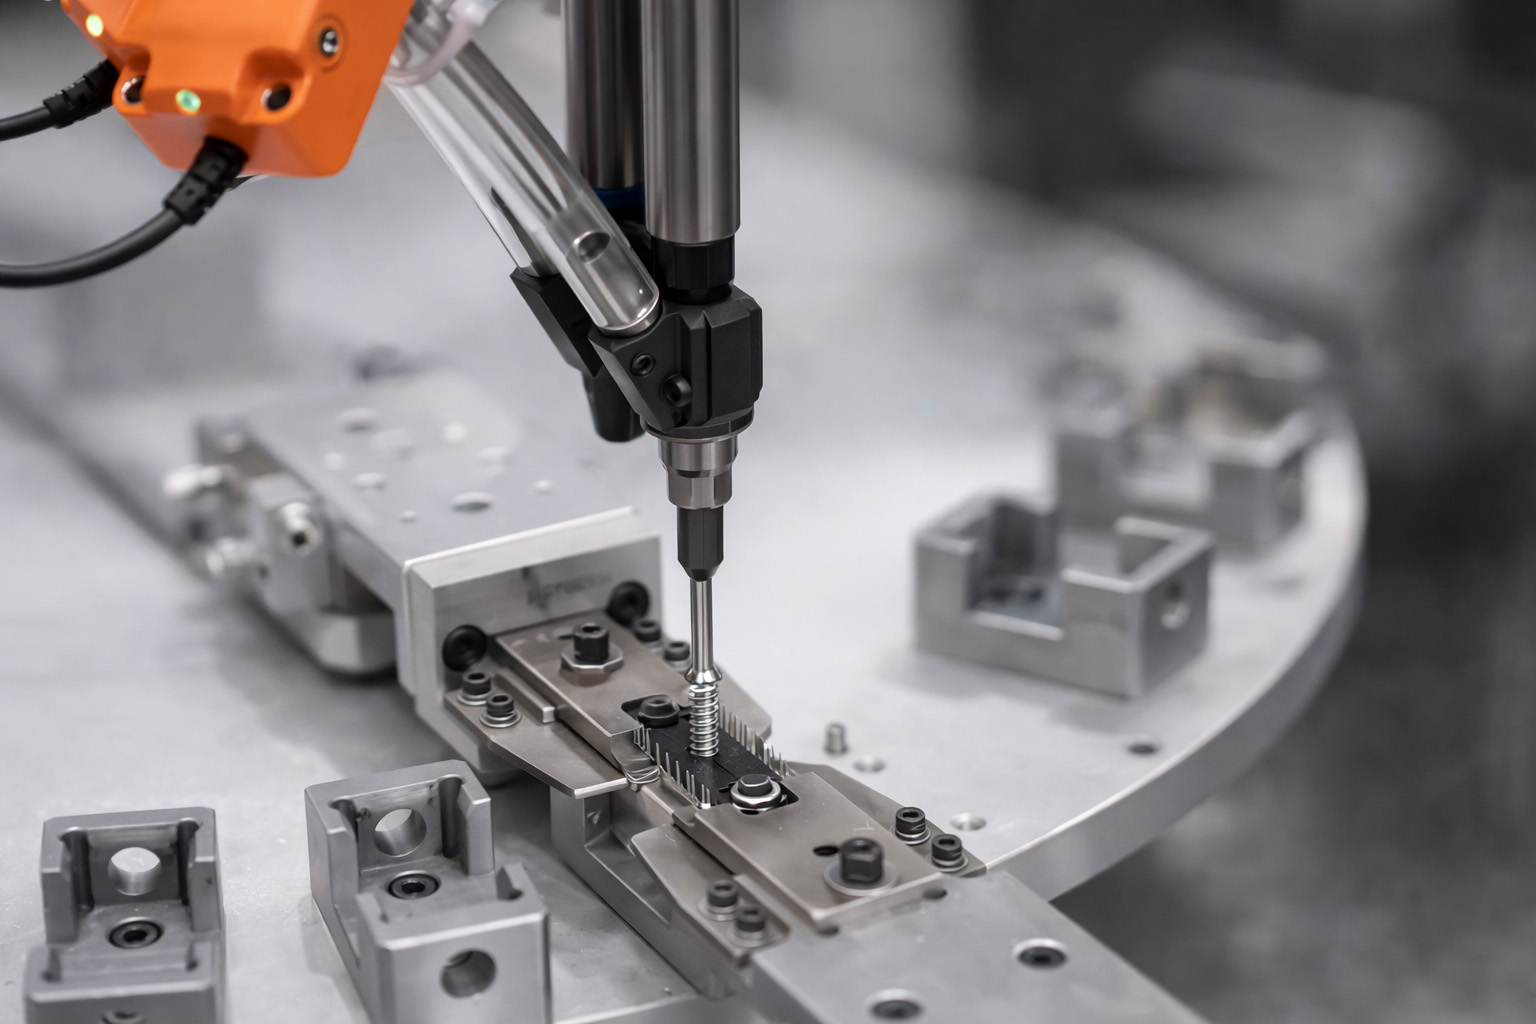
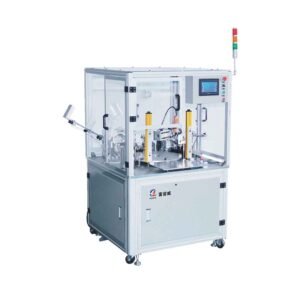
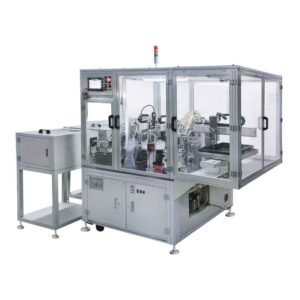
If your production line still relies on manual heatsink fastening, you
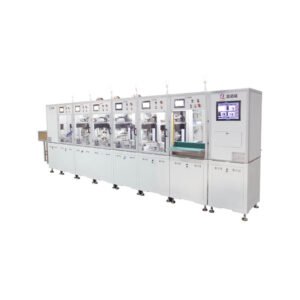
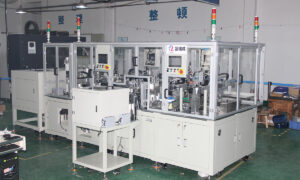
You should pick pcb lead cutting & forming equipment that fits you
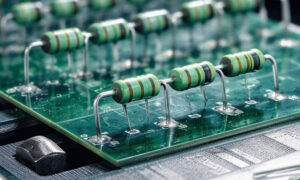
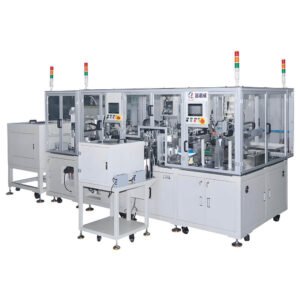
Optimize PCB assembly with a precision resistance forming machine that
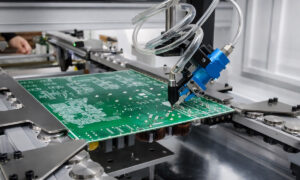
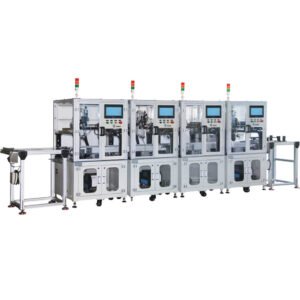
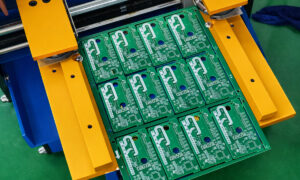
In through-hole (THT) and mixed-technology PCB assembly, lead cutting
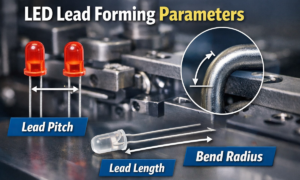
When an LED doesn’t sit flat on the PCB, won’t enter the holes smoothl