How to Use a Capacitor Lead Cutting Machine (2025 Practical Guide)
A capacitor lead cutting machine uses a precision mechanical cutting system and adjustable blade sets to trim capacitor metal leads to an exact length. Typical machines are equipped with a high-accuracy positioning system, adjustable cutting depth control, an automatic feeding mechanism, and a scrap collection unit. This guide covers pre-flight checks, step-by-step operation, maintenance, and efficiency tips for consistent, high-quality results.
Key Features
- High-precision positioning system: Ensures repeatable lead length and perpendicular cut faces.
- Adjustable cutting depth: Fine adjustment of blade height to meet specific lead-length requirements.
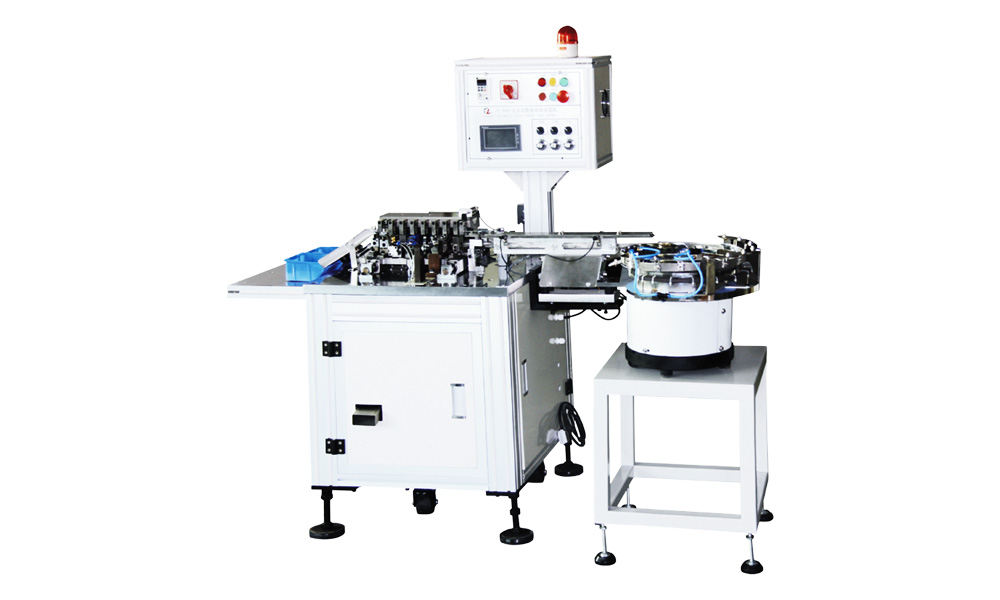
- Automatic feeding mechanism: Vibratory bowl + linear track for stable, continuous throughput.
- Scrap collection: Dedicated chute and box to keep the workstation clean and safe.
Pre-Operation Preparation
(1)Equipment Checks
- Power connection: Verify the machine is correctly connected and the voltage matches the nameplate.
- Blade condition: Confirm blades are sharp and securely mounted; no chipping or looseness.
- Safety devices: Guards, interlocks, and emergency stop must function properly.
- Work surface: Clean the tabletop so no debris interferes with operation or measurement.
(2)Materials & PPE
- Target capacitor parts (sorted by model/spec).
- Proper jigs or locators that match the part diameter and lead size.
- Personal protective equipment: safety glasses, cut-resistant gloves, and ESD protection if required.
Step-by-Step Operating Procedure
- Feeding & alignment: Parts flow from the vibratory bowl into a flat linear track. The machine’s vibrator conveys parts from right to left. Aim for a single-file, tightly spaced queue for best stability and speed.
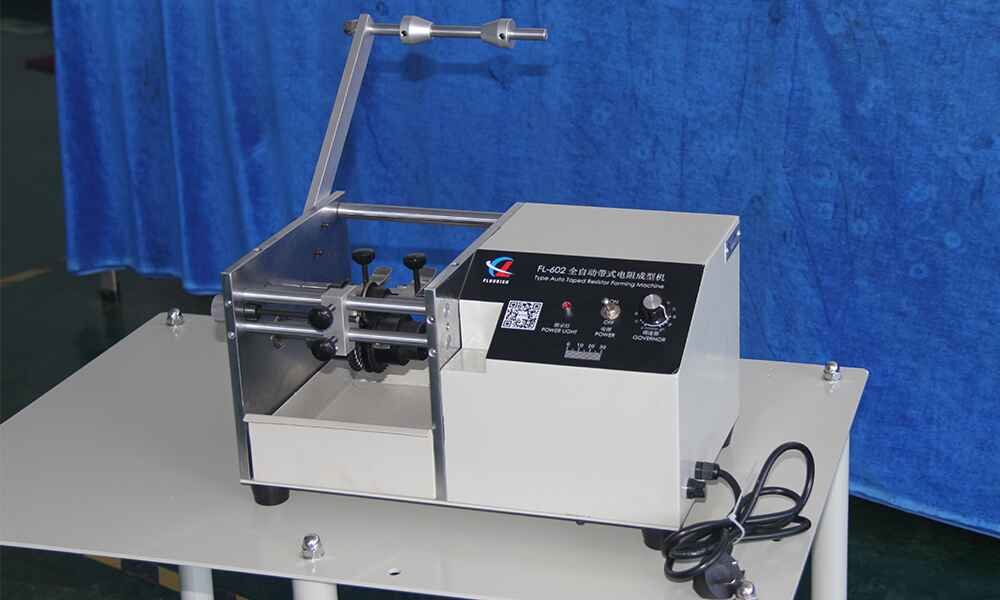
- Stabilize with the pressure block: Use the adjustment knob to set the pressure block height according to part height. Proper contact reduces shaking and prevents lead-length variation during cutting.
- Cutting & discharge: The blade actuates via an eccentric wheel (cam) to perform the cut. Scrap drops through the lower scrap chute into the collection box. Finished parts slide through the finished-goods chute into a bin.
- Drive & length setting: A motor drives the timing pulley on the eccentric wheel to complete the cutting cycle. Use the length knob to set the cutting die height and thereby the final lead length; verify using the built-in scale for quick reference.
Maintenance & Safety Notes
- Clean around the eccentric wheel: Excess lead chips can jam the mechanism—remove them promptly.
- Clean the blade slider surface: Accumulated chips can cause sticking or uneven motion.
- Clean the drive gears: Lead chips in gears may cause miscuts or blade jams.
- Keep the vibrator area clear: Debris affects flat vibration and stable feeding.
- Daily care: Lubricate per the manual, clean the machine, and apply rust prevention to critical metal parts.
Tips to Improve Throughput & Consistency
Batch Optimization
- Process by capacitor family/spec to minimize frequent changeovers.
- Plan an efficient cutting sequence based on due dates and jig availability.
- Save frequently used parameter presets (lead length, pressure block height, feed rate).
Operator Best Practices
- Master the control panel and basic diagnostics (sensors, alarms, counters).
- Build standard operating procedures (SOP) and follow them consistently.
- Adopt good habits: verify length with a gauge at startup, after breaks, and after any adjustment.
Conclusion
A capacitor lead cutting machine is a core tool in electronics manufacturing. Proper setup, correct operating steps, and routine maintenance not only boost productivity but also ensure consistent product quality. Combine hands-on training with documented SOPs to maximize performance and keep operators safe. New operators should receive professional training and follow the manual strictly before running production.


