- Blog
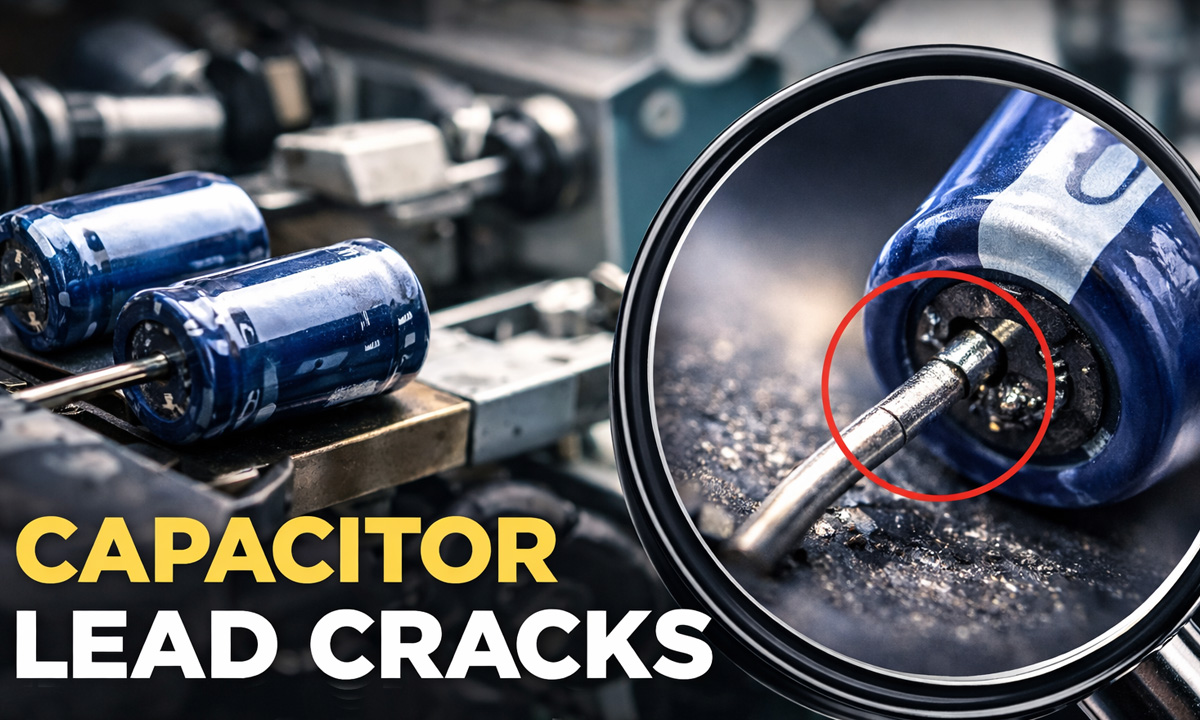
Where Do Capacitor Lead Cracks Come From? (Root Causes + How to Prevent Them)
- By tian81259@gmail.com
Capacitor lead cracks usually come from mechanical stress during forming/cutting, fatigue from vibration or thermal cycling, or weak spots created by poor tooling and handling. The good news: most cracks are preventable with the right forming rules and equipment setup.
1) Lead forming stress (the #1 source)
When a radial capacitor lead is bent too fast, too close to the epoxy seal, or with the wrong radius, the lead can develop micro-cracks that later grow into visible fractures.
Common forming mistakes:
- Bending too near the rubber bung/epoxy seal
- Using a tight bend radius (sharp corner)
- Over-forming (forcing leads to “fit” a pitch they don’t naturally match)
- Misalignment that creates side load instead of a clean bend
Fix: Keep a safe distance from the seal, form with a smooth radius, and use stable guides/jigs.
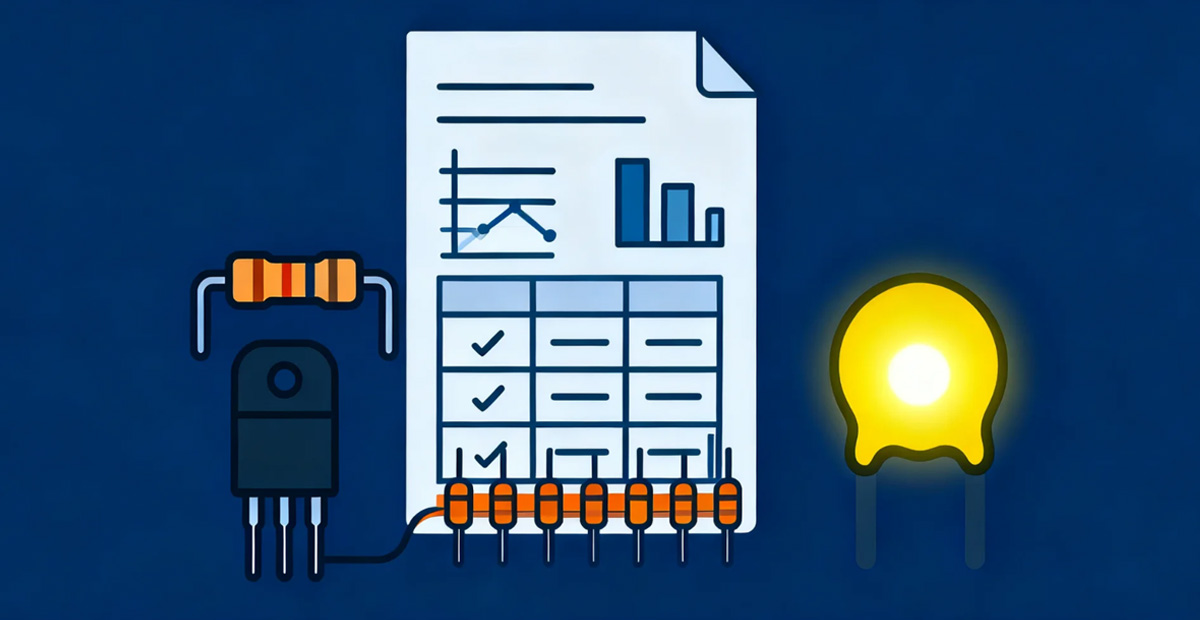
Related: Capacitor Lead Forming Machine
2) Cutting damage and burrs
A dull blade or incorrect cutting clearance can leave burrs, nicks, or flattened sections. Those small defects become crack starters—especially under vibration or wave solder stress.
Fix: Use sharp tooling, correct clearance, and stable clamping before cut.
3) Work-hardening + repeated rework
Leads (often tinned copper or copper alloy) can work-harden if bent, straightened, and re-bent. Each rework cycle increases cracking risk.
Fix: Form it right once. Avoid “hand-fixing” pitch and lead shape after machine forming.
4) Handling and transport stress
Cracks can start before the PCB stage:
- Leads snagging in bulk packaging
- Dropping reels/trays
- Pulling parts by the leads during loading
Fix: Improve incoming handling SOPs and use proper feeders/fixtures.
5) Thermal + vibration fatigue after assembly
Even a small micro-crack can grow after soldering due to:
- Thermal cycling (hot/cold expansion)
- Vibration/shock (power supplies, automotive, appliances)
- Heavy components with poor mechanical support
Fix: Add mechanical support (adhesive/brace), correct lead length, and avoid stressing the lead at the solder joint.
Quick prevention checklist (copy-paste friendly)
- Don’t bend too close to the seal/bung
- Use a smooth bend radius (no sharp corners)
- Keep tooling sharp; reduce burrs/nicks
- Avoid re-bending and manual rework
- Clamp and guide leads to prevent side load
- Improve handling/feeding to avoid snagging
- Add support for high-vibration products
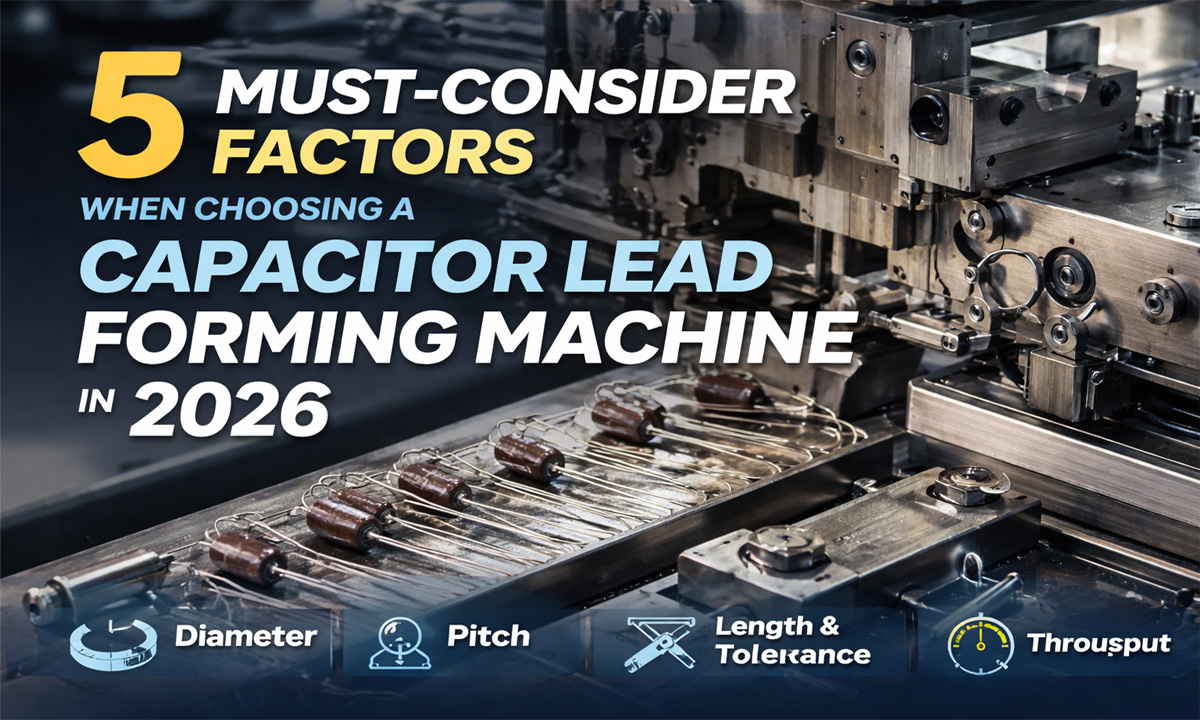
Choosing the right forming process (to reduce cracks)
If you’re seeing lead cracks repeatedly, it’s usually a process + equipment match problem (pitch, cut length, bend shape, speed, and clamp stability). Use a selection guide to avoid the wrong forming method for your capacitor type and production line.
FAQ
Are lead cracks always visible?
No. Many start as micro-cracks and only fail later under vibration/heat.
Do “stronger” bends help?
Over-bending usually makes it worse. Controlled radius and correct pitch are safer than forcing.
Is it a capacitor quality issue or a forming issue?
Most cases are forming/cutting stress or handling. If it happens across multiple brands, check process first.
Share the Post:
Related Posts
20 Years of Expertise, Trusted by Clients Worldwide
The Preferred Choice of Foxconn, BYD, and Huawei