
- Blog
Post-Forming Inspection Metrics for Capacitor Leads (QC Checklist That Prevents PCB Insert Problems)
- By tian81259@gmail.com
Capacitor lead forming is supposed to make through-hole insertion fast, repeatable, and solder-friendly. But if you don’t measure the right things after forming, small dimensional errors turn into big factory headaches: bent pins at insertion, lifted bodies, weak solder joints, rework, and unstable yields.
Below is a practical, production-focused list of inspection indicators (KPIs) you can use to judge whether your capacitor forming process is truly “good” — not just “looks fine.”
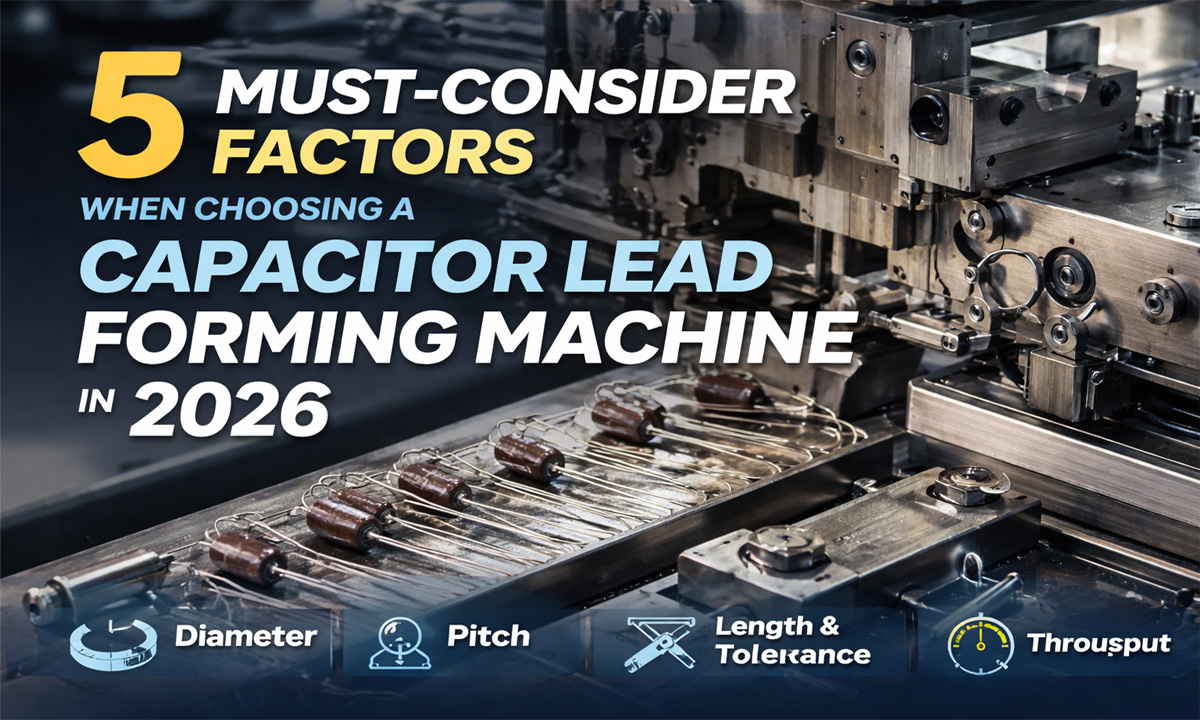
If you’re evaluating equipment, see our capacitor lead forming machines and this capacitor lead forming machine selection guide to match tolerances and throughput to your PCB and line speed.
Why post-forming inspection matters (more than most teams think)
A formed lead can pass a quick visual check and still fail where it counts:
- It doesn’t insert smoothly into PCB holes (pitch drift, lead toe-in/out, lead flare)
- It sits unevenly on the PCB (standoff inconsistency, coplanarity issues)
- It solders poorly (burrs, plating damage, contamination)
- It cracks later (micro-cracks from over-bending or dull tooling)
Good QC is not “checking everything.” It’s checking the handful of indicators that correlate strongly with real failures.
The core inspection metrics after capacitor lead forming
1) Lead pitch accuracy (center-to-center distance)
What it controls: insertion success rate and stress on leads during insertion
How to check: go/no-go pitch gauge, calipers, or vision measurement
What to watch for:
- pitch drift over time (tool wear, clamp slip)
- left/right asymmetry (one lead bending more than the other)
QC tip: pitch is the #1 root cause when operators complain “it suddenly got hard to insert.”
2) Lead length after cutting (from bend point to tip)
What it controls: solder fillet shape, wave solder bridging risk, lead protrusion spec
How to check: calipers, dedicated length gauge, or automatic optical measurement
What to watch for:
- length variation (cutter wear, inconsistent feeding)
- tip deformation (smash marks that reduce solderability)
3) Standoff height (body-to-PCB spacing)
What it controls: mechanical stress, cleaning flow, solder reliability, vibration resistance
How to check: height gauge, fixture + feeler gauge, or vision system
What to watch for:
- body being pressed too low (sleeve damage, stress on rubber seal)
- body sitting too high (unstable components, vibration issues)
4) Bend angle and bend radius consistency
What it controls: long-term reliability (avoids lead fatigue/cracks)
How to check: profile projector/vision, angle gauge, or fixture comparison
What to watch for:
- sharp bend radius (often caused by worn/damaged forming tooling)
- spring-back differences (material batch variation + improper forming geometry)
5) Coplanarity (both leads touch the same reference plane)
What it controls: whether both leads enter holes without twisting the capacitor body
How to check: flat reference plate + feeler gauge, or vision measurement
What to watch for:
- one lead higher/lower → causes tilt, poor seating, and solder defects
6) Lead straightness (especially near the tip)
What it controls: insertion speed, auto-insertion yield, and pin damage
How to check: roll test on flat surface, straightness gauge, or vision
What to watch for:
- “hooked” tips (common when cutting blade alignment is off)
- gradual lead curve (feed path friction or guide misalignment)
7) Burrs, sharp edges, and cut surface quality
What it controls: solder wetting, bridging, operator safety, and hidden crack initiation points
How to check: visual under magnification, fingertip-safe test, or microscope sampling
What to watch for:
- burrs increasing over time (blade wear)
- torn plating (can reduce solderability and corrosion resistance)
8) Lead damage: scratches, plating peel, necking, micro-cracks
What it controls: electrical continuity over time and mechanical fatigue resistance
How to check: magnification, bend test sampling (controlled), or metallographic checks when needed
What to watch for:
- “white line” marks near bend (often the earliest visible sign of stress)
- thinning/necking caused by over-clamping or improper die geometry
9) Sleeve/insulation integrity and polarity orientation (if applicable)
What it controls: short-circuit risk and assembly correctness
How to check: visual + fixture; for orientation use poka-yoke or vision
What to watch for:
- sleeve torn by sharp tooling edges
- polarity marking not consistently oriented to your line standard
Recommended inspection workflow (fast + realistic)
Incoming / setup validation (when changing part number, pitch, or tooling):
- full dimensional check: pitch, length, standoff, angle, coplanarity
- magnified check: burrs + lead surface
In-process sampling (during production):
- quick gauges for pitch + length
- periodic burr/lead damage inspection under magnification
- trend tracking (SPC) for pitch and length if you’re chasing stable yields
End-of-lot audit (before packaging):
- seating simulation using a PCB-hole fixture (most practical “real-world” test)
- random magnified checks on bend area
What “good” looks like in production (simple pass/fail signals)
A forming process is usually healthy when:
- insertion is smooth with no forced push
- capacitor body sits flat with consistent standoff
- cut tips are clean (no burr “lip”)
- bend area shows no whitening, necking, or plating peel
- dimensions remain stable across the run (no drift)
If you’re seeing drift, it’s often tooling wear, clamp slip, feed inconsistency, or misalignment — all things a properly matched forming machine and correct setup can control.
How inspection indicators tie back to machine selection
When you choose equipment, you’re really choosing how well it can hold these metrics under your real conditions: different capacitor diameters, lead diameters, pitch variants, production speed, and operator skill.
That’s why it helps to review both:
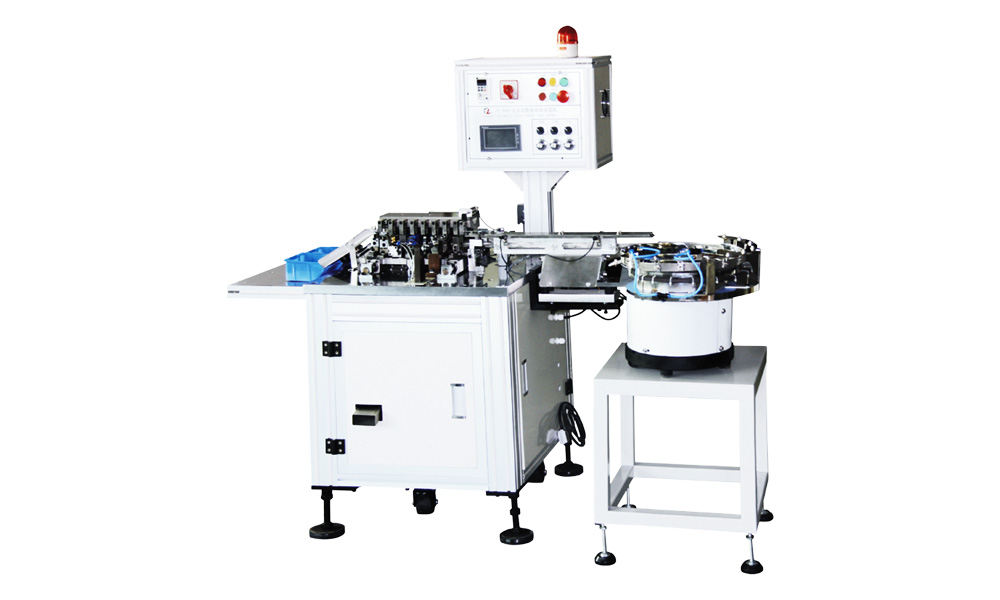
- Capacitor lead forming machines (what capabilities exist)
- How to choose a capacitor lead forming machine (how to match tolerance + throughput to your PCB and line)
FAQ
What’s the #1 inspection metric for preventing insertion problems?
Lead pitch accuracy (and second is lead straightness near the tip). If pitch is off, everything downstream gets harder.
Do I need vision inspection?
Not always. Many factories get excellent results with go/no-go gauges + smart sampling. Vision becomes valuable when you’re running high speed, many SKUs, or chasing ultra-low defect rates.
Why do burrs suddenly get worse mid-run?
Blade wear, incorrect blade clearance, or slight misalignment. Burr trend is a classic “tooling health” indicator.
Share the Post:
Related Posts
20 Years of Expertise, Trusted by Clients Worldwide
The Preferred Choice of Foxconn, BYD, and Huawei