
- Blog
LED Lead Length Inconsistency After Forming: Causes, Troubleshooting, and Fixes
- By tian81259@gmail.com
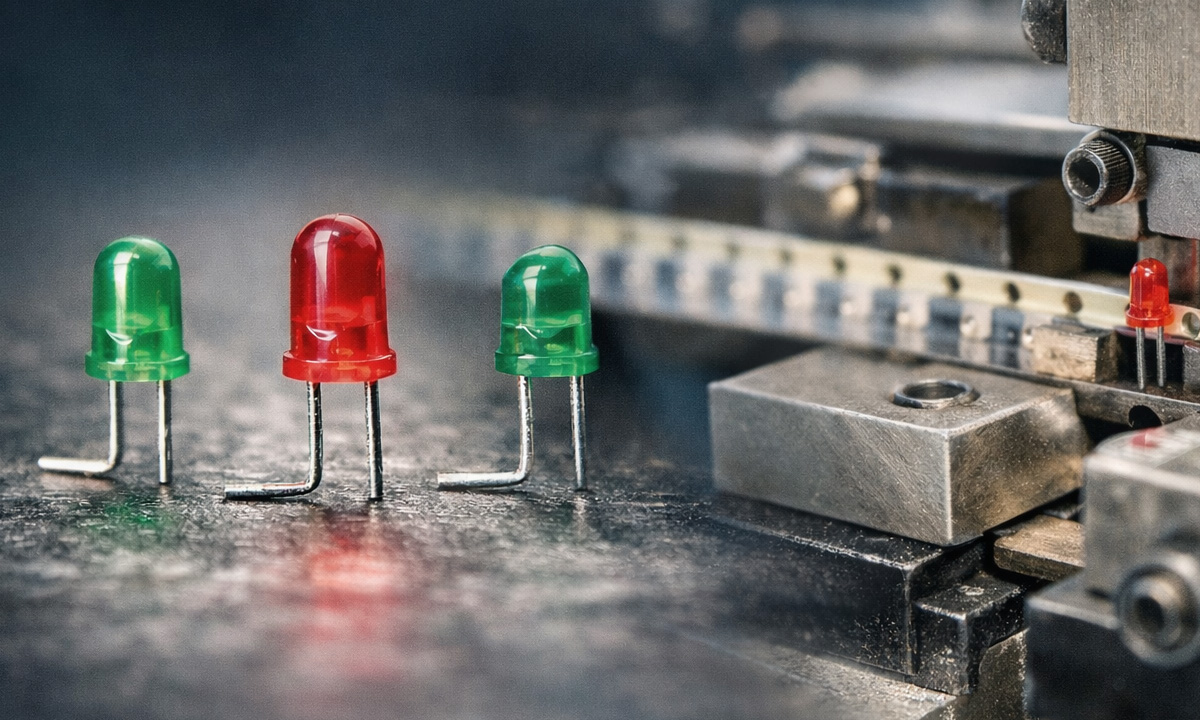
When LEDs (especially radial through-hole LEDs) come off the lead cutting/forming process with inconsistent lead length, it’s more than a cosmetic issue. It can quickly create:
- Insertion problems (won’t seat evenly, jigs jam, auto-insertion misfeeds)
- Soldering risk (unstable solder fill in wave/selective soldering → cold joints/bridging)
- Yield loss (inconsistent standoff height, uneven assembly fit, rework and scrap)
Below is a shop-floor friendly, step-by-step way to diagnose and solve it—fast.
1) First: Identify Which “Inconsistency” You Actually Have
Before adjusting the machine, confirm what’s drifting:
A. Cut Length Variation (after cutting, before bending)
Bending looks fine, but the cut lead length fluctuates.
Typical signs: lead ends vary randomly; left/right legs may drift; variation increases over a long run.
B. Forming Reference Drift (bend point moves)
The cut looks acceptable, but the bend position / bend datum shifts, so the final exposed length changes.
Typical signs: insertion depth changes; lead span and bend angle occasionally shift.
C. Feeding / Positioning Instability (the part doesn’t seat consistently)
The LED enters the tooling with inconsistent posture or stop position, so both cut and bend fluctuate.
Typical signs: first few hundred pcs are good, then drift; or a new reel/bag immediately changes the results.
10-minute isolation test:
Measure 30 pcs in two stages:
- After cutting only (no forming) → checks cut length stability
- After forming → checks bend datum and posture stability
This quickly tells you where the variation starts.
2) Troubleshooting Checklist (Start Easy, Then Go Deeper)
Step 1 — Confirm Measurement Method (this is a common trap)
- Use a consistent datum: LED body bottom to lead tip or bend point to lead tip (don’t mix)
- Use one tool consistently: calipers vs. go/no-go gauge
- Standardize operator technique (excess force can deflect thin leads)
If different operators get different numbers, fix the SOP first—then tune the machine.
Step 2 — Check the Material (you can’t “tune out” poor consistency)
Especially after a supplier/batch change, inspect:
- Lead straightness (pre-bent/warped leads won’t stop consistently)
- Lead diameter tolerance (affects shear force and springback)
- LED body bottom flash/gate marks (affects seating/stop datum)
- Tape packaging pitch and hole accuracy (major for tape-fed setups)
Quick verification: run 100 pcs from a “known good” batch.
If it stabilizes immediately, the root cause is likely material/packaging variation.
Step 3 — Feeding & Stop Position (where most inconsistency begins)
Common causes and fixes:
- Loose guide rail / stop block hardware → re-align and lock down
- Excess vibration before the cutting zone → reduce vibration and stabilize feed
- Clamp pressure inconsistent → too tight = deform; too loose = slip
- Tape pitch mismatch (12.7 mm vs 15 mm) → creates periodic variation
Speed test: drop speed to ~70% and recheck.
If variation shrinks, you’re dealing with dynamic stability/feeding posture.
Step 4 — Blade and Tooling Wear (wear = drift)
Watch for:
- Burrs, stringing, rough cut edges
- Increasing noise/vibration during cutting
- “Gets worse over time” within a shift
Fix actions:
- Clean chips/debris around the shear area (debris shifts the datum)
- Inspect blade edge for dulling/chipping; sharpen/replace as needed
- Check tooling clearance, worn dowel pins, weak return springs
Step 5 — Air Supply / Stroke / Sensors (critical for pneumatic systems)
- Air pressure fluctuation (shared air line, moisture, unstable regulator)
- Stroke stop nuts drifting or not locked
- Sensor/limit switch position creeping
Quick check: stabilize the air supply and rerun a short lot.
If drift disappears, the root cause is likely pneumatic stability or stroke control.
3) Fix It by Scenario (Practical, Direct Actions)
Scenario A — Mostly Cut Length Variation
Do these first:
- Re-verify and lock the stop datum (stop block/locator)
- Clean and inspect the blade edge (burrs and chips matter)
- Validate stability at a lower speed, then ramp up to find a stable ceiling
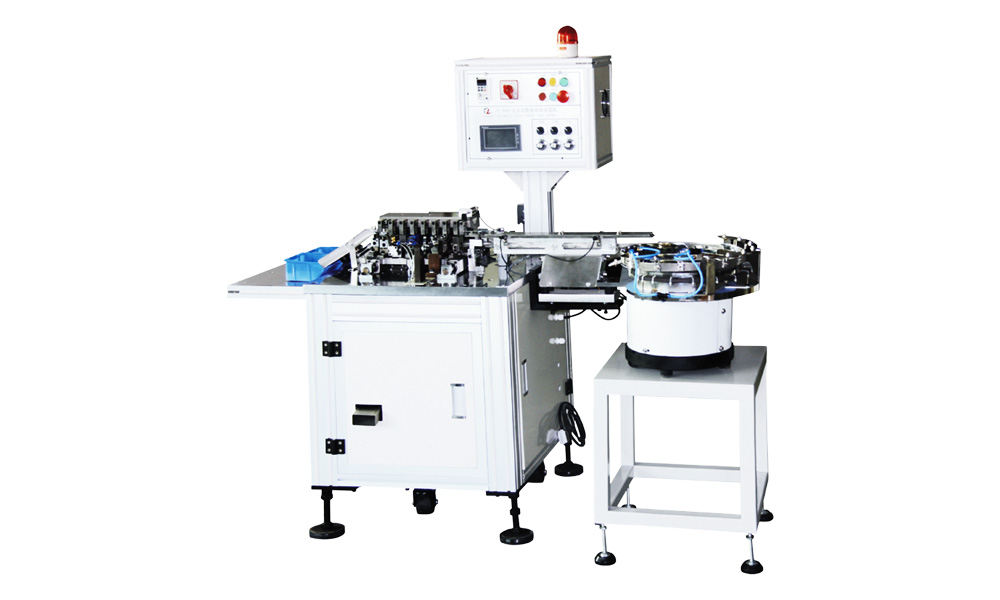
If you’re running bulk radial parts and want better length stability, consider a dedicated cutting solution such as:
- FL-803 Automatic Bulk Capacitor Lead Cutting Machine (often used for radial parts like LEDs)
https://flourishe.net/product/fl-803-automatic-bulk-capacitor-lead-cutting-machine/
Scenario B — Mostly “After Forming” Drift (bend point / datum shifts)
Prioritize:
- Evaluate springback variability (lead diameter/material variation + speed effects)
- Check clamp blocks for wear that causes slip during bending
- Confirm stroke limits are locked (especially pneumatic setups)
- Add simple in-process checks: first-article + hourly sampling
For radial forming applications, a typical forming solution is:
- FL-810 Pneumatic Bulk Capacitor Forming Machine (commonly used for radial forming scenarios)
https://flourishe.net/product/fl-810-pneumatic-bulk-capacitor-forming-machine/
Scenario C — Tape-Fed LEDs With Periodic Variation
This is usually pitch/hole positioning/tension related. Confirm:
- Your tape standard: 12.7 mm vs 15 mm
- Feed wheel / indexing pin compatibility
- Tape tension control (tension swings = length swings)
For tape-fed radial component cutting, consider:
- FL-816 Tape-fed Radial Component Lead Cutting Machine
https://flourishe.net/product/fl-816-tape-fed-radial-component-lead-cutting-machine/
4) Prevent It From Coming Back: Turn “Consistency” Into a Controlled KPI
Process controls
- Fixed operating speed range
- Air pressure range + moisture control
- Blade/tooling maintenance interval (counts or shift-based checks)
Quality controls
- Target cut length + tolerance
- Left/right lead difference (if required)
- Burr/deformation criteria
- Bend angle and lead span (for insertion stability)
Gauging
- A simple go/no-go lead length gauge (fast, consistent)
- A bend angle reference sample board for shift handoff
5) Suggested Internal Link for “Next Step” (Conversion-Friendly)
If you want this post to naturally funnel readers into equipment selection, add a “Choose the Right Machine” link:
- Radial Lead Forming Machines Collection
https://flourishe.net/proudt/electronic-component-lead-forming-machine/radial-lead-forming-machines/
This keeps the article helpful while giving visitors an obvious next action.
FAQ
Q1: What tolerance should we target for LED lead length after forming?
Always follow the customer drawing/spec. In practice, the fastest way to control this is: define a clear datum + use a go/no-go gauge to reduce operator measurement variation.
Q2: Why does it look fine at the start, then drift later?
Most commonly: chips build up near the shear zone, hardware loosens slightly, vibration changes at higher speed, or air pressure fluctuates. Start with cleaning + stop datum recheck + air stability.
Q3: We changed LED suppliers and the variation got worse—what now?
Confirm lead straightness, diameter tolerance, and (for tape) pitch/hole accuracy before chasing machine settings. Material inconsistency will overwhelm a stable setup.
Share the Post:
Related Posts
20 Years of Expertise, Trusted by Clients Worldwide
The Preferred Choice of Foxconn, BYD, and Huawei