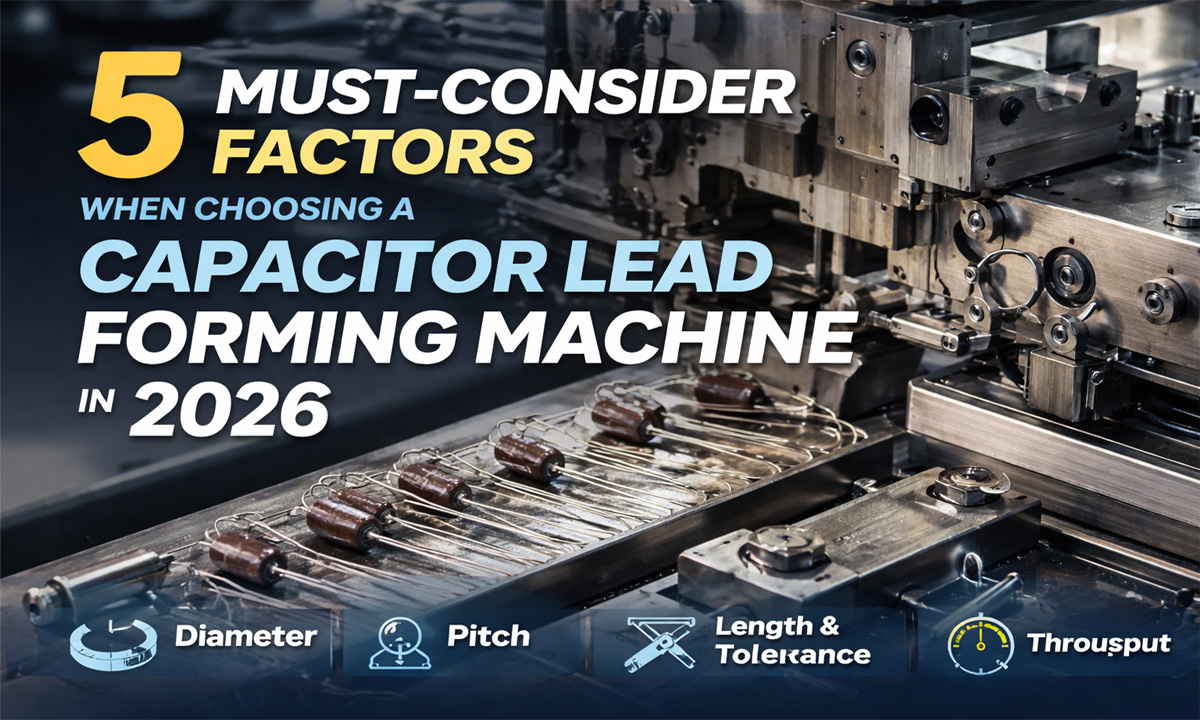
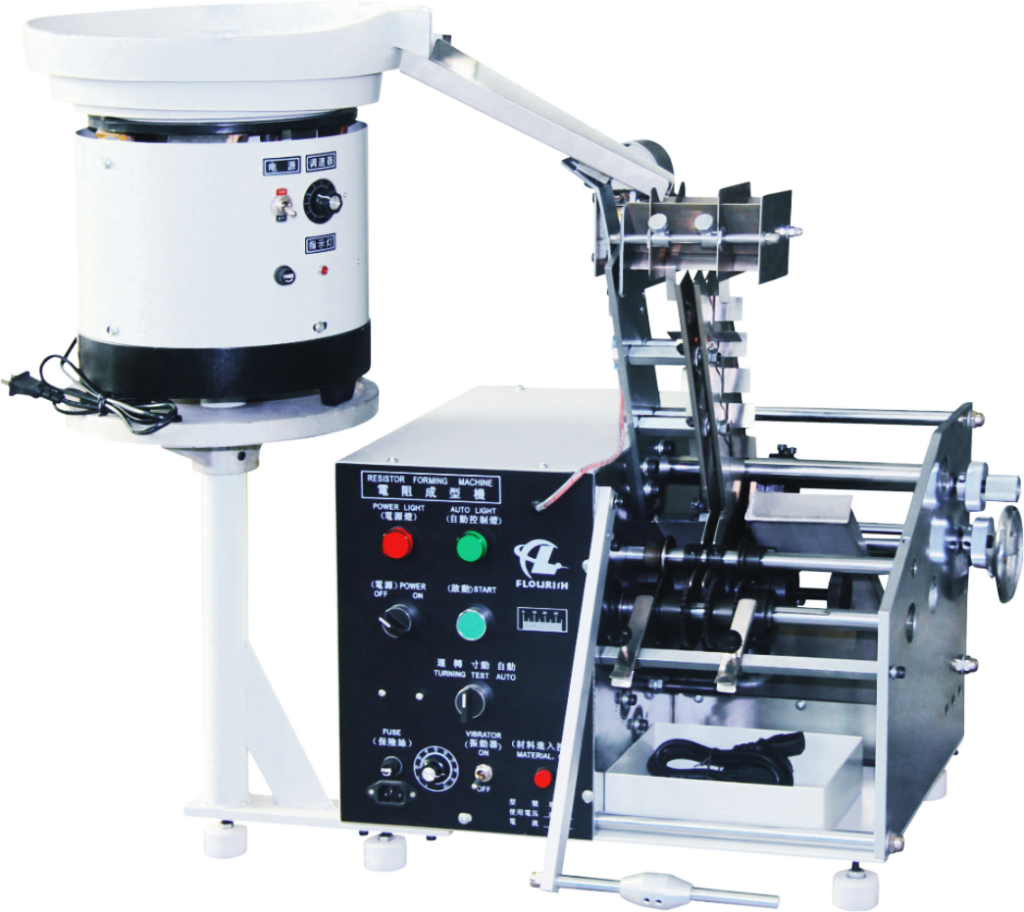
Optimize PCB assembly with a precision resistance forming machine that delivers fast lead cutting, accurate U or F bending, and high volume efficiency.
Are you struggling to eliminate bottlenecks in your through-hole PCB assembly line?
Manual component processing is slow, inconsistent, and costly. Investing in the right resistance forming machine is the single most effective way to transform your production efficiency.
But not all equipment is created equal.
Whether you are debating between U-type and F-type configurations, or deciding between automatic and manual models, the wrong choice can lead to damaged components and wasted downtime.
Investing in the right resistance forming machine is the most effective way to improve precision and efficiency in through-hole PCB assembly.
In this guide, you’re going to learn exactly how to select the perfect lead forming equipment to boost your throughput and ensure zero-defect results.
Let’s dive right in.
Understanding the Mechanics of a Resistance Forming Machine
Core Functionality: Feeding, Cutting, and Bending
When we talk about a resistance forming machine, we are essentially looking at the backbone of efficient through-hole component processing. The concept is simple, but the execution needs to be flawless. Whether you are running taped resistor forming reels or handling bulk resistor processing, the machine performs three critical actions in rapid succession:
- Feeding: Precision transport wheels grip the tape or loose leads to position the component exactly under the die.
- Cutting: We use durable Japanese SKD-11 steel blades to shear the excess lead wire cleanly, ensuring no burrs or sharp edges.
- Bending: The forming die shapes the leads into the required U-type or F-type configuration for PCB insertion.
Automating this process eliminates the inconsistencies of hand tools, delivering uniform lead lengths and pitch every single time.
Axial vs. Radial: Why Component Type Matters
You have to know your geometry before selecting a machine. Most standard resistors are axial components—meaning the leads exit from opposite ends of the cylindrical body. An axial lead forming machine is specifically engineered to handle this horizontal orientation.
- Axial: Leads on opposite sides (Resistors, Diodes). Requires a machine that cuts and bends both sides simultaneously.
- Radial: Leads on the same side (Capacitors, LEDs). Requires a completely different feeding mechanism.
Using the correct machine configuration prevents jamming and ensures the resistor lead cutting and bending aligns perfectly with your PCB holes. Our equipment is purpose-built for axial loads, ensuring high-speed stability that generic universal machines often lack.
The “Stress-Free” Advantage: Protecting the Resistor Body
This is the single most important factor in quality control. If a machine bends the lead too close to the resistor body without proper support, the mechanical stress travels up the wire and cracks the epoxy coating or the ceramic core. A cracked seal lets moisture in, leading to component failure down the road.
We prioritize stress-free forming in our designs. Our machines clamp the lead wire firmly before the bending action begins. This isolates the force, ensuring zero stress is transferred to the component body. By maintaining the integrity of the epoxy seal, we ensure your final product remains reliable in the field.
Selecting the Right Resistance Forming Machine Configuration
Choosing the correct equipment setup is critical for optimizing your production line. We design our resistance forming machine models to tackle specific board layouts and component delivery methods, ensuring you get the exact lead shape required for your assembly process.
U-Type (Horizontal) Forming for Standard Mounting
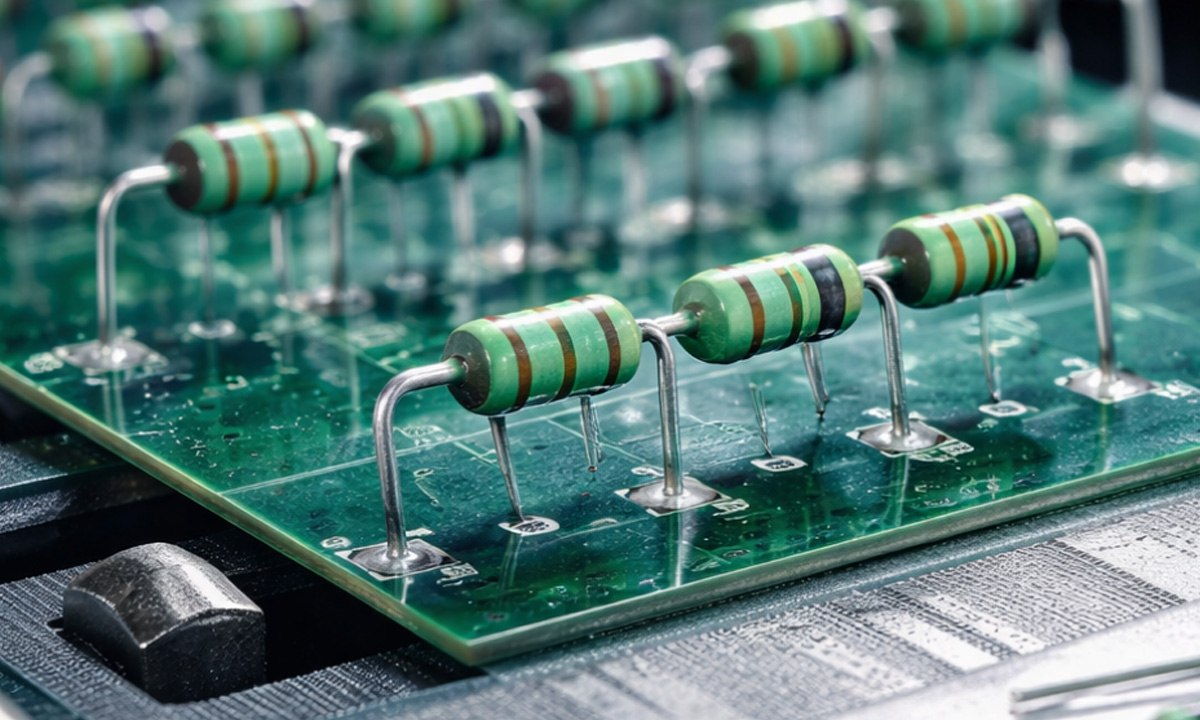
For most standard through-hole applications, U-type resistor forming is the go-to configuration. This setup bends the axial leads 90 degrees on both sides, creating a “U” shape that allows the resistor to sit flat against the PCB.
- Stability: Provides a low profile and stable mechanical connection.
- Clearance: Ideal for boards where vertical height is restricted but surface area is available.
- Adjustability: Our machines allow you to fine-tune the span and lead length to match your specific pitch requirements.
F-Type (Vertical) Forming for High-Density PCBs
When board real estate is at a premium, F-type lead forming is the solution. This configuration bends one lead back over the component body, enabling the resistor to mount vertically rather than horizontally. This significantly reduces the footprint of each component, making it essential for high-density PCB assembly automation.
We engineer these dies to ensure the bend is precise without stressing the component body or cracking the epoxy coating.
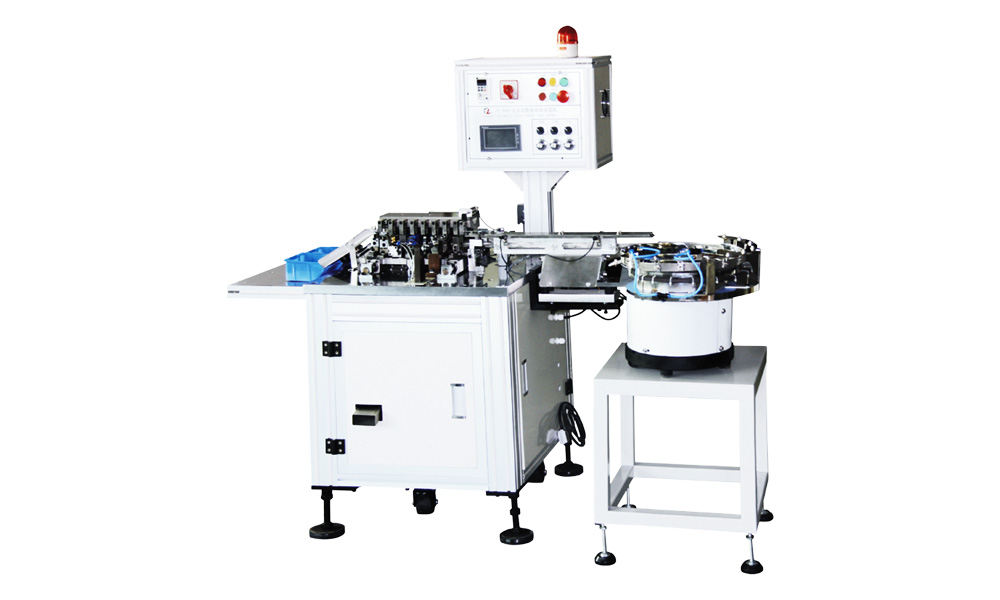
Taped vs. Loose: Matching Feed Type to Production Needs
The efficiency of your axial lead forming machine depends heavily on how your components are packaged. We offer distinct solutions for both scenarios:
- Taped Resistor Forming Machine: If your inventory comes on reels, our automatic taped models are built for high-speed throughput. These units feed directly from the reel, cutting and forming continuously with minimal operator intervention.
- Bulk Resistor Processing: For loose components, we utilize vibration bowl feeders or hopper systems. This setup automatically orients loose resistors for processing, eliminating the need for manual handling and ensuring your resistance forming machine maintains a steady cycle rate.
Manual vs. Automatic: Analyzing ROI and Throughput
Deciding between a manual hand-cranked unit and a fully motorized system often comes down to simple math. I always tell shop managers to look at their monthly volume before writing a check. The goal is to maximize your Return on Investment (ROI) without overspending on capacity you won’t use.
When to Stick with Manual or Hand-Cranked Units
For small job shops, R&D labs, or short-run production, a manual resistance forming machine is usually the smartest buy. If you are processing fewer than 5,000 pieces a week, there is no need to invest in heavy automation.
Hand-cranked models are straightforward. They don’t require electricity, making them portable and easy to set up on any workbench. Ideal for:
- Prototyping: Quick adjustments for testing different lead lengths.
- Small Batches: Running 50 to 100 resistors for a custom repair job.
- Low Maintenance: No motors or complex sensors to calibrate.
If your workflow involves frequent changeovers and you aren’t racing against the clock, a manual resistance lead cutter keeps overhead low.
The Power of Automatic Motorized Systems (60,000 pcs/hr)
When your orders scale up, manual cranking becomes a bottleneck. This is where high-speed lead forming becomes essential. A motorized automatic resistor lead cutter can process up to 60,000 pieces per hour.
Benefits include:
- Massive Output: Clearing huge backlogs in a single shift.
- Continuous Operation: Designed to run all day without overheating.
- Taped Component Handling: Optimized for standard taped reels, ensuring smooth feeding without jams.
Comparing Speed, Consistency, and Labor Costs
The biggest hidden cost in manufacturing is labor. While a manual machine is cheaper upfront, paying an operator to crank a handle adds up fast.
- Speed: A motorized unit can do in one hour what manual processing may take days.
- Consistency: Automatic machines deliver lead length consistency down to the millimeter, from first part to millionth.
- Labor Costs: One operator can supervise multiple machines, reducing cost per part.
For high-volume production, the ROI on an automatic system often pays off within months.
Must-Have Features for Industrial Durability
When investing in industrial lead bending equipment, durability isn’t just about the frame; it’s about the tooling and precision parts that touch your components.
Blade Quality: Why Imported Steel Matters
The cutter is the workhorse of any resistance forming machine. If the steel is soft, you get burrs and uneven cuts quickly. We use imported Japanese SKD-11 steel for cutting blades and forming dies to deliver clean cuts over millions of cycles.
Precision Adjustments and Component Protection
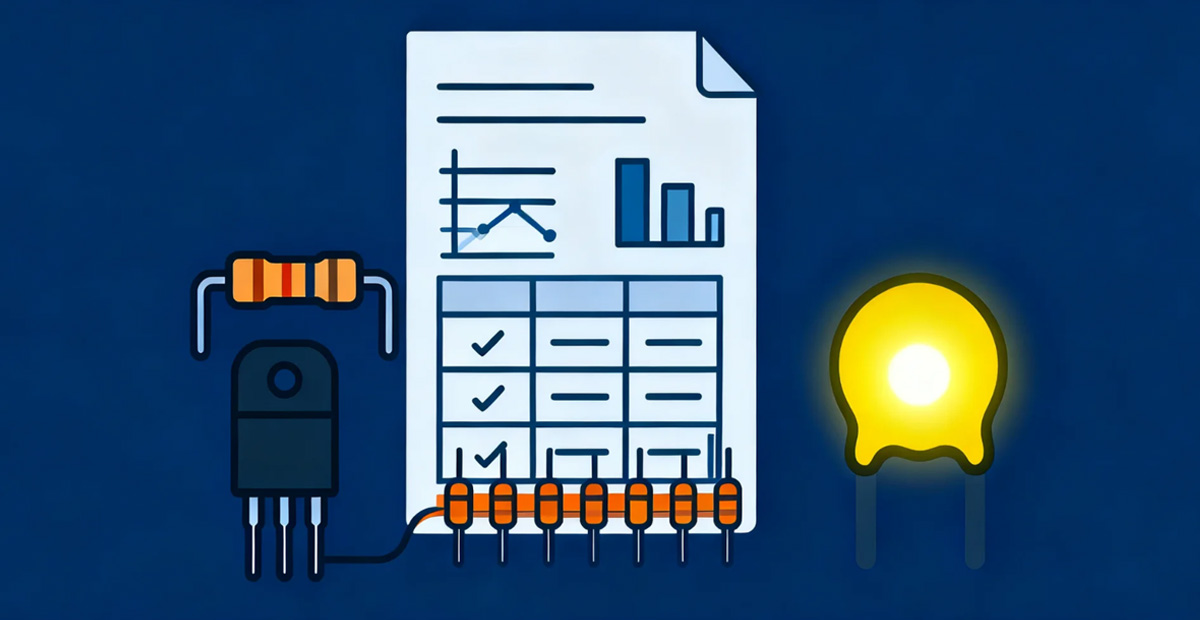
Speed means nothing if the parts don’t fit the PCB. Resistor lead length consistency is vital for downstream assembly.
Equally important is stress-free forming. The bending mechanism should clamp the lead before bending to prevent cracks in the epoxy seal or damage to internal connections.
Key Durability Features (copy as table into Gutenberg):
| Feature | Material / Spec | Benefit |
|---|---|---|
| Cutting Blades | Japanese SKD-11 Steel | Long service life; burr-free cuts |
| Lead Diameter Range | 0.35mm – 1.0mm | Versatility for 1/4W to 1W+ resistors |
| Forming Method | Stress-Free Mechanical Linkage | Protects component body and epoxy seal |
| Adjustment Type | Micrometer/Rail Adjustment | High precision for pitch and length control |
Operational Best Practices and Maintenance
Keeping a resistance forming machine running at peak performance isn’t complicated, but it requires consistency.
Calibration Checklist Before Large Production Runs
Before launching a high-speed batch, verify the component pitch adjustment. A quick test run of 10–20 units ensures lead length consistency before processing a full reel.
- Verify Dimensions: Use calipers to check span against PCB requirements.
- Check Guide Tightness: Loose guides lead to sloppy bends and rejected boards.
- Inspect Feed Alignment: Ensure components feed straight to prevent jamming.
Managing Waste and Scrap Lead Disposal Efficiently
At high speeds (up to 60,000 pcs/hr), scrap lead wire piles up fast. If clipped leads get into gears or sliding mechanisms, they can jam the motor or damage tooling.
Recommendation: Empty the waste tray every few hours during continuous shifts and keep the work area clean.
Routine Lubrication and Cleaning Protocols to Extend Life
- Daily Cleaning: Wipe feed tracks to remove tape dust, adhesive residue, or debris.
- Lubrication: Apply light machine oil weekly to shafts, cams, and gears.
- Blade Inspection: Check blades periodically for dull spots to ensure clean cuts.
FAQ: Common Questions About Resistor Lead Forming
Can I switch between U-Type and F-Type on one machine?
Generally, no. U-type (horizontal) and F-type (vertical) require different die structures and ejection mechanisms. Most industrial machines are dedicated to one style for consistency and speed. Swapping tooling often creates more downtime than it saves.
How do I prevent resistor coating cracks during bending?
Cracking usually happens when the bend radius is too close to the component body. Use stress-free forming: clamp the lead before bending to prevent force transferring to the epoxy seal.
- Check your pitch: Ensure span isn’t too tight for the resistor body size.
- Inspect the dies: Worn dies can crush leads rather than bending smoothly.
What is the typical lifespan of the cutting blades?
It depends on lead material, but with high-grade imported steel blades, you can typically expect millions of cuts. Keep blades clean from tape residue and lightly oiled.
Is it worth automating for small batch runs?
If you’re doing under 5,000 pieces per run, an automatic unit may be overkill. Setup time can erase efficiency gains. For small batches, manual units are often more cost-effective. Automation shines when you need sustained high throughput (e.g., 40,000+ pcs/hr).