
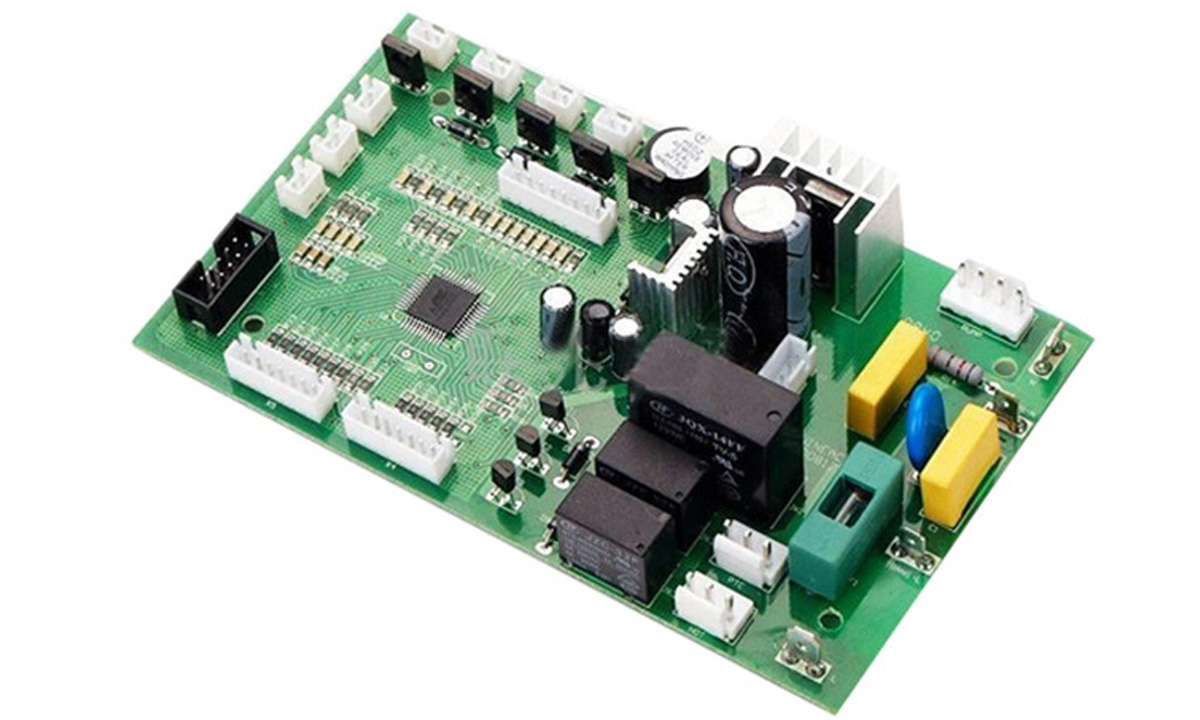
If you’re building through-hole boards at scale, lead preparation is the hidden “throughput multiplier.” Bulk axial resistors arrive with long, straight leads that are great for packaging—but not for fast, repeatable insertion. The goal of the cut–bend–form process is simple: turn loose parts into consistent, PCB-ready geometry so insertion is smooth, soldering is clean, and the body isn’t stressed.
Below is a practical, shop-floor workflow you can use as a standard operating process—whether you’re running manual fixtures or moving toward automation.
Why lead prep matters (more than most teams expect)
When resistor leads aren’t processed consistently, you’ll usually see problems downstream:
- Insertion stalls (pitch mismatch, leads too long, bends inconsistent)
- Solder defects (uneven protrusion, poor hole fill, bridged joints)
- Reliability risk (micro-cracks, lifted pads, body stress from over-bending)
- Rework cost (manual trimming, hand bending, repeated touch time)
A stable lead-forming process improves three things at once: speed, accuracy, and repeatability—which is why many lines eventually migrate from manual bending to dedicated forming equipment.
Step 0: Incoming bulk handling and pre-checks
Before you cut anything, lock down the basics:
A) Confirm the build spec
- PCB hole pitch (center-to-center)
- Required lead protrusion after insertion (your soldering method decides this)
- Orientation (horizontal, vertical, “standing,” kinked, etc.)
- Body standoff requirement (if needed for cleaning/thermal/creepage)
B) Quick incoming checks
- Lead diameter consistency
- Lead oxidation or contamination
- Body cracks (shipping damage)
- Packaging type (bulk, ammo pack, taped, tube-packed)
If you’re seeing random insertion issues, don’t skip this step—batch-to-batch lead stiffness and diameter variations can force you to adjust forming settings.
Step 1: Lead cutting (trim to controlled length)
What “good” looks like
A trimmed lead should be:
- Cleanly cut (no burrs that block insertion)
- Consistent length across the batch
- Long enough to meet soldering needs but not waste material or cause shorts
Typical cutting controls
- Lead length (from body to tip)
- Cut quality (burr, deformation)
- Repeatability (variance is what kills you)
Common pitfalls
- Dull blades → burrs, squeezed lead tips, insertion jams
- Over-aggressive cut → lead “mushrooming” or bending
- Inconsistent feeding → random length variation
Step 2: Lead bending (create stable geometry)
Bending is where most “manual variability” creeps in. The key is to control:
- Bend angle (often 90° for horizontal insertion)
- Bend radius (too tight can stress the lead/body; too loose can shift pitch)
- Bend location (distance from resistor body)
- Standoff (if required)
Why bend location matters
If the bend is too close to the body, you risk mechanical stress and body cracking. If it’s too far, the body won’t sit correctly on the board, and insertion depth becomes inconsistent.
Step 3: Lead forming (final pitch + shape that matches the PCB)
Think of “forming” as bending with a purpose: hit a target pitch and shape repeatedly.
Most common through-hole resistor forms
- Horizontal (laydown): two 90° bends, consistent pitch
- Vertical (standing): one lead becomes a support leg, the other inserts
- Kinked / stress-relief: adds a small offset to reduce stress and improve stability
- Custom pitch: for non-standard hole spacing or special fixtures
On automated machines, trimming and forming are often combined into one continuous operation to reduce handling and variation. For example, a bulk horizontal lead forming machine like FL-611 is designed to complete trimming + forming in a single cycle and is rated at up to ~9000 pcs/hour (machine spec)
A simple “process spec” table you can adopt
Use this as a starting template for your internal work instruction (adjust to your PCB drawing + acceptance criteria):
| Control item | What to specify | Why it matters |
|---|---|---|
| Lead length (after trim) | Target + tolerance | Determines protrusion and solder consistency |
| Pitch (formed spacing) | Target pitch + tolerance | Prevents insertion jams and lead stress |
| Bend angle | e.g., 90° ± tolerance | Ensures body sits flat / consistent height |
| Bend location | distance from body | Reduces body stress, improves repeatability |
| Burr limit | visual standard or go/no-go | Burrs cause insertion and plating damage |
| Tool wear check | per shift / per batch | Drift shows up as random defects |
If you want a fast upgrade: add a simple go/no-go pitch gauge at the end of the process. It catches drift immediately, before it becomes a line-wide problem.
Equipment options: from manual to automated (and when to switch)
Option A: Manual fixtures (lowest cost, highest variability)
Best for prototypes or very small batch work. Expect:
- Lower throughput
- Higher operator-to-operator variation
- More rework when specs tighten
Option B: Semi-automatic forming
A common step-up for stable mid-volume production:
- Better consistency
- Less training burden
- Easier to control pitch/angle
Option C: Fully automatic trim + form (best for volume + consistency)
If you’re processing bulk resistors daily, dedicated automation reduces variability sharply. Multi-function designs can also improve flexibility. For instance, integrated machines like FL-612 are designed to support both horizontal and vertical forming via mold changes, with cutting/spacing accuracy stated to reach within ±0.1 mm .
If you’re deciding what to buy (and how to match it to your production volume), this guide is a good internal reference point: Resistor Forming Machine Selection Guide flourishe.net.
Step 4: PCB insertion readiness checks (before you feed the line)
Right before insertion (manual or auto), verify three quick items:
- Pitch fit test: sample parts into a reference plate or scrap PCB
- Protrusion consistency: check that lead length won’t cause shorts or weak joints
- Body seating: confirm it sits flat (or at required standoff)
This is the “cheap checkpoint” that prevents expensive rework after soldering.
Step 5: Soldering compatibility (wave solder vs. selective vs. hand)
Your soldering process changes the ideal lead prep:
- Wave solder benefits from very consistent protrusion and stable geometry
- Selective solder is more forgiving but still prefers repeatable pitch and seating
- Hand solder can tolerate more variation but increases labor cost quickly
No matter the method, the winning combination is:
consistent pitch + clean cuts + controlled insertion depth.
Common defects and how to troubleshoot fast
If your yield drops, these are the usual suspects:
- Insertion jams → pitch drift, burrs, lead tip deformation
- Floating bodies → bend location drift, inconsistent angle
- Random shorts → overlong leads, inconsistent protrusion
- Cracked bodies → bend too close to body, bend radius too tight, excessive force
If you run forming equipment and want a structured checklist for jams/noise/tool wear, use a troubleshooting SOP like: Resistor Lead Forming Machine Troubleshooting Guide flourishe.net.
A practical “engineering note” you can quote in your SOP (E-E-A-T friendly)
In high-volume through-hole assembly, most quality issues blamed on “soldering” are actually created earlier by lead geometry drift—pitch, burrs, and bend location. Lock the forming process first, then tune soldering.
This framing helps teams stop chasing symptoms downstream and focus on the controllable upstream variables.
Where automation usually pays back fastest
You’ll typically see the quickest ROI when:
- you’re forming the same pitch for long runs,
- labor cost is high or training turnover is frequent,
- insertion/solder defects are creating rework loops,
- you need stable output for customer audits.
For bulk horizontal forming specifically, a dedicated solution like FL-611 Bulk Horizontal Resistor Lead Forming Machine is built around exactly this trim + form workflow .
If you tell me your target pitch, lead length, resistor body size, and daily throughput, I can turn the table above into a ready-to-paste work instruction (with acceptance checks, sampling frequency, and a defect/reaction plan).